


A Guide to #10 Envelope Design in Word
The #10 envelope is the standard for business correspondence — it’s what most companies use for invoices, letters, contracts, and direct mail. And while it looks simple, designing one correctly in Microsoft Word takes a little know-how to get right.
In this guide, we’ll walk you through everything you need to know about #10 envelope design in Word — from correct sizing and templates to address formatting and printing tips — so your envelopes look sharp and professional every time.
What Is a #10 Envelope?
A #10 envelope is the most commonly used business envelope in the United States. It measures 9.5 inches wide by 4.125 inches tall and is designed to fit a standard 8.5 x 11 sheet of paper folded in thirds.
You’ll recognize it as the envelope that comes with utility bills, bank statements, and most formal business correspondence. It’s the go-to format for:
- Business letters and correspondence
- Invoices and statements
- Direct mail campaigns
- Contracts and legal documents
- Checks and payment remittances
Because it’s so widely used, it’s also one of the most cost-effective envelopes to print professionally — and a well-designed, branded #10 envelope makes a strong impression before the recipient even opens it.
What Is the Correct Size for a #10 Envelope Template in Word?
Getting the dimensions right is the most important first step. In Microsoft Word, here’s how to set up your document for a #10 envelope:
- Go to Mailings → Envelopes — Word has a built-in envelope tool that sets the size automatically
- Or go to Layout → Size → More Paper Sizes and manually enter: Width 9.5″, Height 4.125″
- Set margins to 0.25 inches on all sides to keep content away from the edges
- Set your page orientation to Landscape
If you’re designing for professional printing (rather than printing at home), add a 0.125 inch bleed on all sides — this means your document should be set to 9.75″ x 4.375″ with your design elements extending to the edge and all critical content kept 0.125″ inside the trim line.
How Do You Design a #10 Envelope in Microsoft Word?
Once your document is set up correctly, here’s how to build out your envelope design:
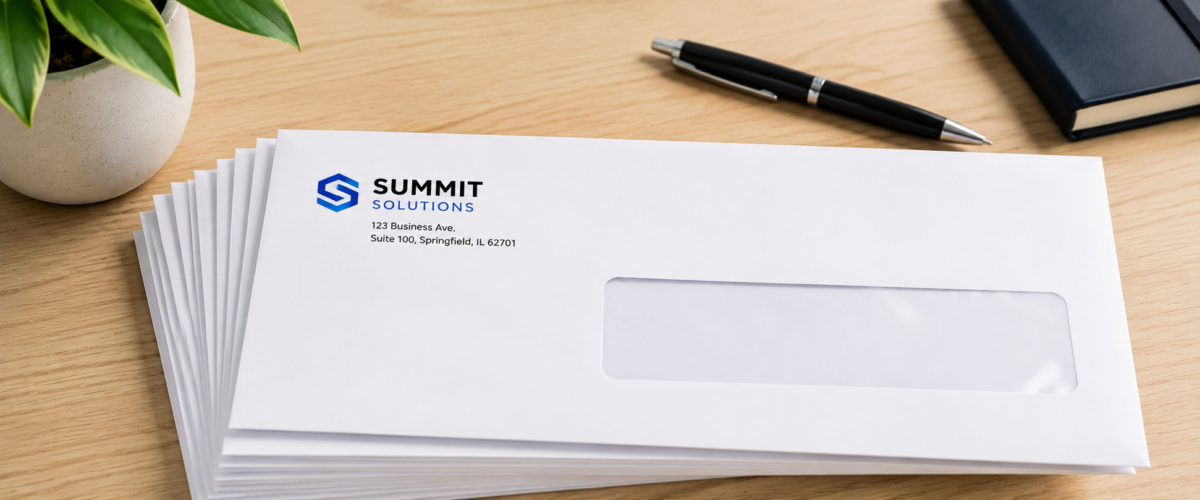
- Step 1 — Add your return address: Place your company logo and return address in the upper left corner. This is standard placement and what postal services and recipients expect to see. Use Insert → Text Box to position it precisely.
- Step 2 — Add a brand color element: A colored left border strip, header bar, or background accent in your brand colors makes your envelope look intentional and professional rather than plain white.
- Step 3 — Position the mailing address area: The delivery address goes in the center-right of the envelope. If you’re designing a template for mail merges, leave this area as a placeholder text box. USPS guidelines recommend the address block start at least 1 inch from the left edge and 0.625 inches from the bottom edge.
- Step 4 — Leave space for postage: Keep the upper right corner (approximately 1.5″ x 1.5″) clear for a stamp or postage meter imprint.
- Step 5 — Export as PDF: When your design is complete, export it as a PDF (File → Save As → PDF) to preserve your layout and fonts for printing.
How Do You Add Return and Mailing Addresses in a #10 Envelope Design?
Word’s built-in envelope tool handles this automatically if you’re printing one-off envelopes. Here’s how to use it:
- Go to Mailings → Envelopes
- Enter your delivery address in the top box and your return address in the bottom box
- Click Options to set font, size, and position for both addresses
- Click Add to Document to create a printable envelope page in your Word file
For batch printing or direct mail campaigns, use Word’s Mail Merge feature:
- Go to Mailings → Start Mail Merge → Envelopes
- Set your envelope size to #10
- Connect to your recipient list (Excel spreadsheet or CSV file)
- Insert merge fields for name and address in the correct position
- Preview and complete the merge
Mail merge is a significant time-saver when you need to address large quantities of envelopes with different recipient information.
What Are the #10 Envelope Design Guidelines and Restrictions?
If your envelopes are going through the USPS, there are some important guidelines to follow:
- Address placement: The delivery address should be in the lower center of the envelope, at least 0.625″ from the bottom and 1″ from the left edge.
- Font size: Use a minimum of 10pt font for addresses — smaller text can cause scanning errors at postal facilities.
- No dark backgrounds in the address area: USPS barcode scanners need high contrast to read addresses. Keep the address area on a white or very light background.
- Clear zone: Leave the bottom 0.625″ of the envelope free of any design elements — this is where USPS applies its barcode during processing.
- Postage area: Keep the upper right 1.5″ x 1.5″ corner clear for postage.
- Return address: Always include a return address in the upper left corner — it’s required for First-Class Mail.
Following these guidelines ensures your mail gets where it’s going without delays or returns.
Can You Print #10 Envelopes Directly from Word?
Yes — but with some caveats.
For occasional, single envelopes, printing directly from Word works fine. Most printers have a manual feed slot or envelope tray that accepts #10 envelopes. In Word, go to Mailings → Envelopes → Print to send it directly to your printer.
However, for business branding purposes — where you want your logo, return address, and brand colors printed consistently on every envelope — professional printing is the better choice. Here’s why:
- Office printers can struggle with envelope feeding, causing jams or misaligned printing
- Toner-based printing on envelopes can crack or flake when the envelope is folded or handled
- Color accuracy on office printers is inconsistent, especially for brand colors
- Pre-printed professional envelopes save time — no more feeding envelopes one at a time
For any business that sends regular correspondence, having a supply of professionally pre-printed branded envelopes is a much more efficient and polished solution.
What Are the Best Formatting Tips for Creating Envelopes in Word?
Here’s a quick reference of best practices to keep in mind:
- Use text boxes for all elements — they give you precise placement control that inline text doesn’t allow
- Keep fonts simple and readable — serif fonts like Times New Roman or sans-serif fonts like Arial work well for business correspondence
- Use high-resolution logo files — at least 300 DPI at the size it will print; a blurry logo undermines the whole design
- Stick to your brand colors — consistency across your envelopes, letterhead, and business cards builds brand recognition
- Don’t over-design — envelopes are functional first; keep it clean and professional
- Always export to PDF — never send a .docx file to a printer; PDF preserves your fonts, images, and layout exactly
- Proof carefully — check your return address, phone number, website, and any other details before approving for print
Why Have Your #10 Envelopes Professionally Printed?
Designing your envelope in Word gets you a solid, print-ready file. But for the best results — especially for branded business envelopes you’ll use regularly — professional printing makes a meaningful difference.
At PrintIt4Less, we print #10 envelopes with:
- Sharp, consistent logo and color reproduction on every envelope in your order
- Quality envelope stock that runs smoothly through printers and looks professional in hand
- Accurate color matching so your brand colors look the way they’re supposed to
- Competitive pricing — especially at volume, where per-unit costs drop significantly
- Fast turnaround so you’re never scrambling for envelopes when you need them
Whether you need 250 envelopes or 10,000, we make it easy to get a consistent, professional result every time.
Ready to Print Professional #10 Envelopes?
You’ve got the design knowledge — now let us handle the printing.
Browse our envelope printing options and get a quote today — we’ll help you create branded envelopes that make every piece of mail look polished and professional.
Tags: business printing, custom printing, Direct Mail, Envelope, Microsoft WordCategorised in: Blog
This post was written by Print It 4 Less Team